NOTE: this procedure applies to units with S/N:23121501 and above only.
1- Connect the GTC505 to a computer’s USB port, using the supplied micro-USB cable.
2- Upon detecting the USB connection, the GTC505 should show the charging screen.
3- Press the “POWER/CLEAR” button until the unit turns off.
4- Press and hold the “HOLD” button, and while the “HOLD” button is depressed, momentarily press the “POWER/CLEAR” button to turn the GTC505 on.
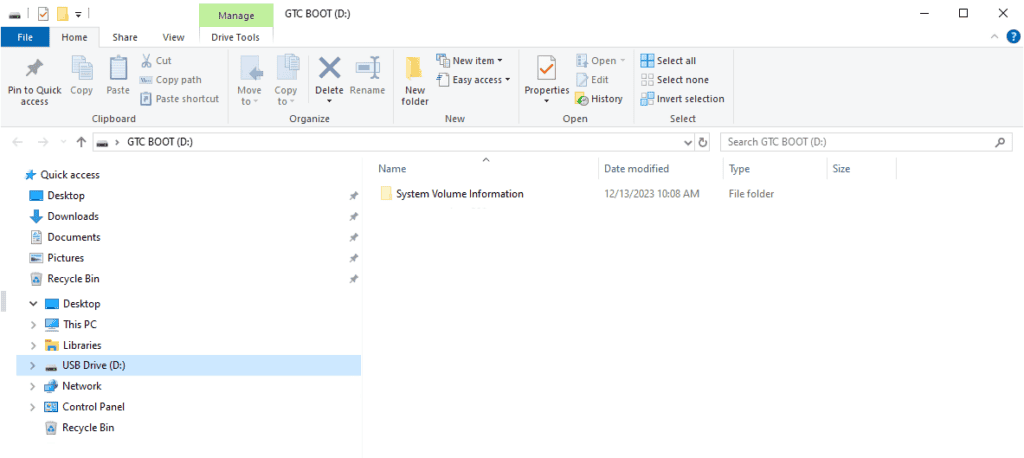
5- When the computer detects the GTC505 as a USB drive named “GTC BOOT” and shows a window like the one below (Windows 10 pictured), you may release the HOLD button.

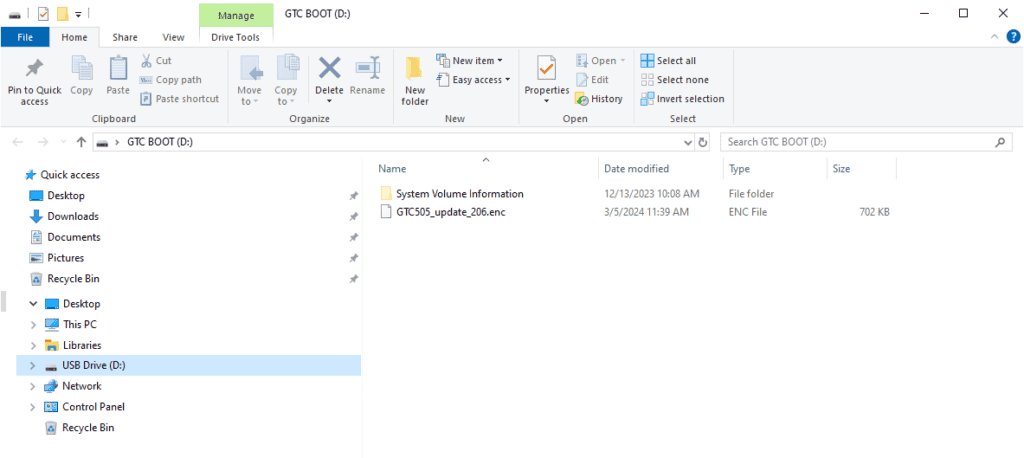
6- ‘Drag and drop’ or ‘copy and paste’ the new firmware file into this drive.

7- Once the file has been copied into the drive, UNPLUG the device from USB. Then press the “POWER/CLEAR” button momentarily to reset the GTC505 and start the update.
8- The display will remain off (for approximately a minute) during the update process, then the GTC505 will automatically turn on. Once the screen is on again, plug the device back into USB and the computer will again detect the GTC505 as a drive, this time named “GTC505_####” (where the #### is your unit’s unique identifier).
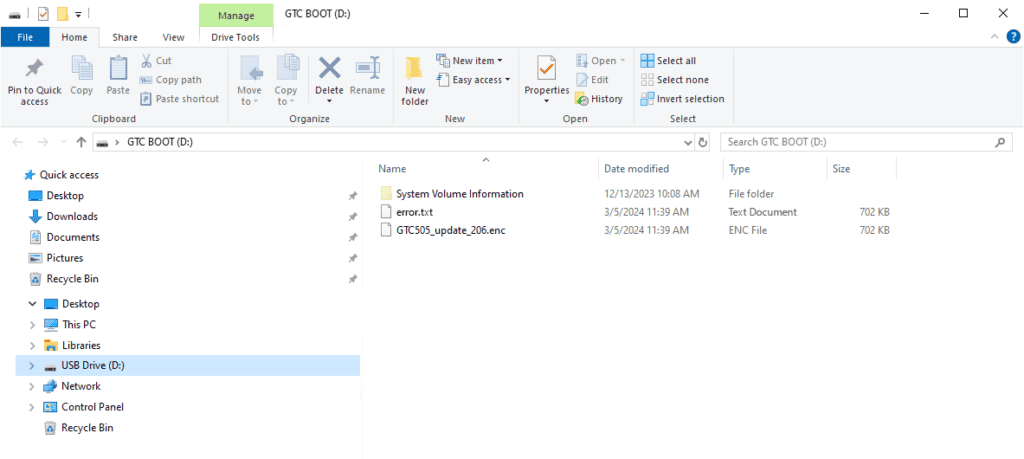
Note: If for any reason the firmware update fails to properly install, the GTC505 will not automatically turn back on, and when you connect it to USB again, it will return to the “GTC BOOT” drive screen with the original update file and an error file. Please see ‘Recovery Procedure’ at the bottom of this document for more details on how to proceed if this happens.

9- To verify that the firmware version was correctly installed in the GTC505, make sure the GTC505 is on, then press the VIEW button down for a couple of seconds, until the status screen appears:

10- It is possible for the update to reset the device’s language to English, if this happened, press the HOLD button repeatedly until the desired language is shown on the last line of the screen.

If you run in to any problems, please get in touch with us, at techsupport@gtc.ca
Recovery Procedure
If for any reason the firmware update fails to properly install, the GTC505 will return to the “GTC BOOT” drive screen with the original update file and an error file.

In this situation right click on the “USB Drive (D:)”, from the pop-up window select “Format…” making sure that “Allocation unit size” is set to 512 and click the “Start” button to reformat the GTC505 internal memory and clear any error. Note that the drive letter may be different on your computer.

Once the formatting is finished, disconnect the GTC505 from the computer (by unplugging the USB cable), then press and hold the CLEAR/POWER button for 5 to 10 seconds and restart the updating procedure from the beginning (1- Connect the GTC505 to a computer’s USB port…)
